• Mold Fabrication: 3D Printing, PETG, about 40g, about 1.5h
• Injection Materials: 0A-5A PVC
• Mold Fabrication: 3D Printing, PETG, about 40g, about 1.5h
• Injection Materials: 0A-5A PVC
3
48
2
Released 8/30/2025
Description
Balloon Dog Injection Molding Instructions
FDM Slicing Settings
Material: PETG/PC
Nozzle Diameter: 0.4 mm
Wall Thickness: 8 layers (≈3.2 mm, high compressive strength, resistant to multiple injections)
Top Layer Thickness: 3 mm
Bottom Layer Thickness: 2 mm
Infill Density: 25% (balance between strength and material saving)
Infill Pattern: Recommended Grid
Layer Height: 0.2 mm
Preparation Materials
0-hardness PVC stock solution
PVC special color paste (yellow, milky white)
Release agent (recommended: PTFE-based release agent; edible oil can also be used, but the release effect is not as good)
Fast-drying PVC soft glue adhesive
3D printed mold
SALTGATOR injection molding machine
Injection Molding Steps
Evenly spray release agent (release oil) on the mold surface.
Assemble the mold according to the exploded view.
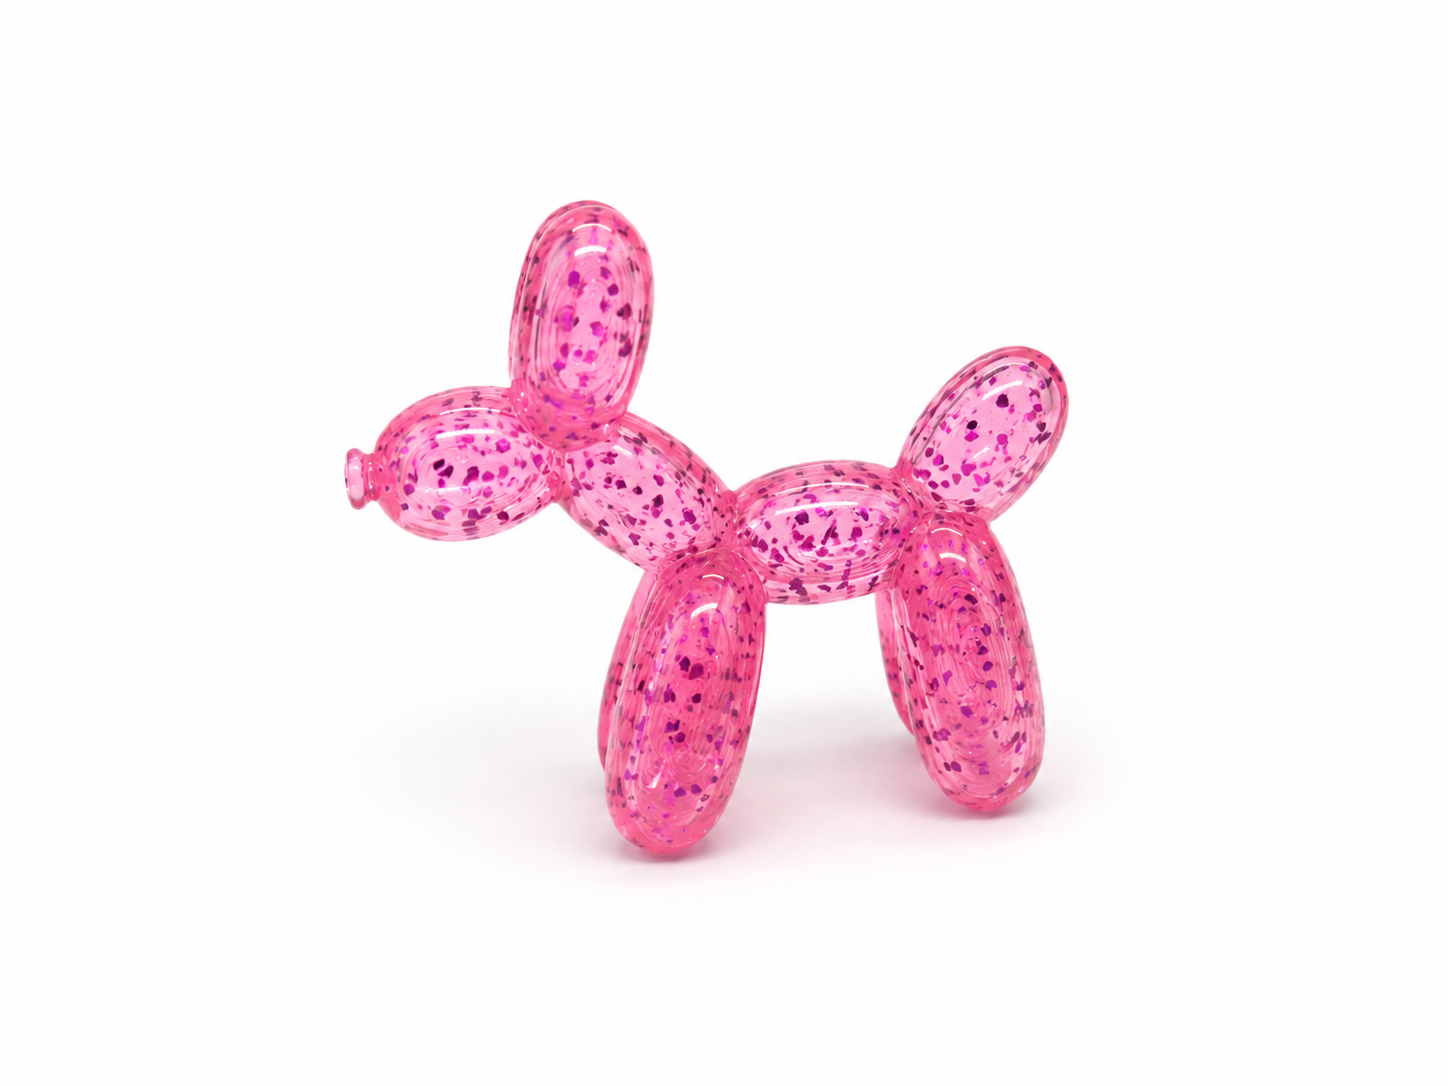
<img src="https://vzyklpazwxemgkrpkblc.supabase.co/storage/v1/object/public/mold-images/1756523019131-c12i59.PNG" alt="Balloon Dog" width="400" />
Add an appropriate amount of PVC stock solution and PVC special color paste into the injection machine, set to 170℃, and start heating.
After heating is completed, use the injection machine to inject material into the mold's injection port (push the plunger until it cannot be pushed further and hold for 3-5 seconds to remove larger bubbles).
After injection, wait 6-8 minutes to allow the PVC soft gel to cool.
Once cooled, first pull out each core pin and open the mold, then demold. During demolding, slowly separate the soft gel from the mold to avoid damaging the model by excessive force.
Remove flash and excess soft gel formed at the vent and injection port.